Input Text, Speak Message
Let’s start off with a simple script that will popup a dialog box where you can type in what you want Windows to speak. First, go ahead and open Notepad.
Step 1: Paste the following text into a new document:
Dim message, sapi
message=InputBox(“Enter the text you want spoken”,”Speak This”)
Set sapi=CreateObject(“sapi.spvoice”)
sapi.Speak message
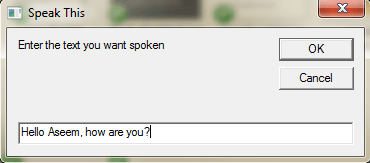
Note that when you copy text from your web browser and paste it into Notepad, the quotes will cause problems. Before you save the file, you need to go through and delete each quote (“) and retype the quote. In the example below, there are six quotes. It should look something like the image below.

Now when you go to save the file, give it any name, but make sure you also type .VBS after the name. Next, for the Save as type box, choose All files instead of the default Text Documents.

Now double-click on the VBS file and you should see an input box where you can type in the text you want spoken! Type something and click OK.
If you did everything right, you should hear either a male or female voice speak out your sentence. If you get any kind of error message, make sure to copy and paste the text again and replace those quotes.
Configure SAPI Voice Settings
This is fun, but we can also configure our little talking computer with different settings. We can change the volume, how fast or slow the voice talks and change the gender between male and female. Here is some example code where I added a couple of extra lines.
Dim message, sapi
message=InputBox(“Enter the text you want spoken”,”Speak This”)
Set sapi=CreateObject(“sapi.spvoice”)
Set sapi.Voice = sapi.GetVoices.Item(1)
sapi.Rate = 0
sapi.volume = 100
sapi.Speak message
The default rate is 0 and the range is -10 to 10. -10 will have the voice speak super slowly and 10 will speak super fast. The volume is defaulted at 100 and the range is 0 to 100. The line that starts with Set sapi.Voice will allow you to change to another voice, if installed on your system.
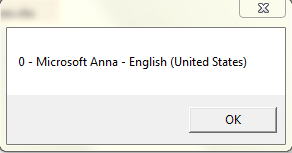
Note that the number of voices you can choose from depends on the operating system. In Windows 7, there is only one voice, Microsoft Anna.
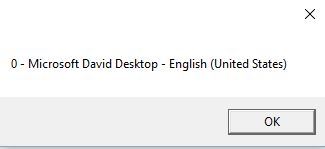
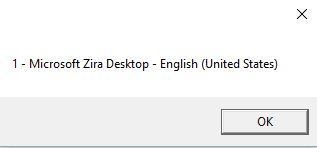
In Windows 10, there are two voices: Microsoft David and Microsoft Zira as shown below.
If there is only one voice installed on your system, you have to change that says sapi.GetVoices.Item(1) to sapi.GetVoices.Item(0), otherwise you will get an error message when you try to run the script. You can also create another Notepad document and paste the code below in, which will tell you what voices are installed. Save it as a .VBS file like shown above and run it.
Set VObj = CreateObject(“SAPI.SpVoice”)
For Each Voice In VObj.getvoices
I = I + 1
msgbox “” & (I – 1) & ” – ” & Voice.GetDescription
Next
Up until now, we have been using this popup dialog to enter text, but you could also simply type your message into the script file. This would be useful if you wanted to then schedule the script to run automatically. Obviously, this can be used to prank your friends and family and it works really well.
Just imagine someone turning on their computer and hearing the computer tell them “Hello John, I’m very sleepy, please don’t bother me today!” when it boots up! I can promise you from experience, it’s hysterical and you should definitely try it.
In order to hardcode the message, simply change the last line to something like this:
sapi.Speak “Hello John, I am very tired today!”
Schedule Script File
Now that you have hardcoded your message for your intended target, you simply have to run it when you want. If you are tech-savvy, you could use a program like AutoIt, which will allow you to do extreme stuff like run your script file when a certain program is opened or when a windows is maximized or minimized.
I don’t have time to get into all that in this post, but luckily Microsoft has a built-in feature called the Task Scheduler that lets you do some pretty complicated stuff with scripts easily.
My previous post goes in depth on how to schedule a script file to run when certain events occur in Windows. If you have any trouble getting your script to work, feel free to post a comment and I’ll try to help. Enjoy!
0 comments:
Post a Comment